The radial menu
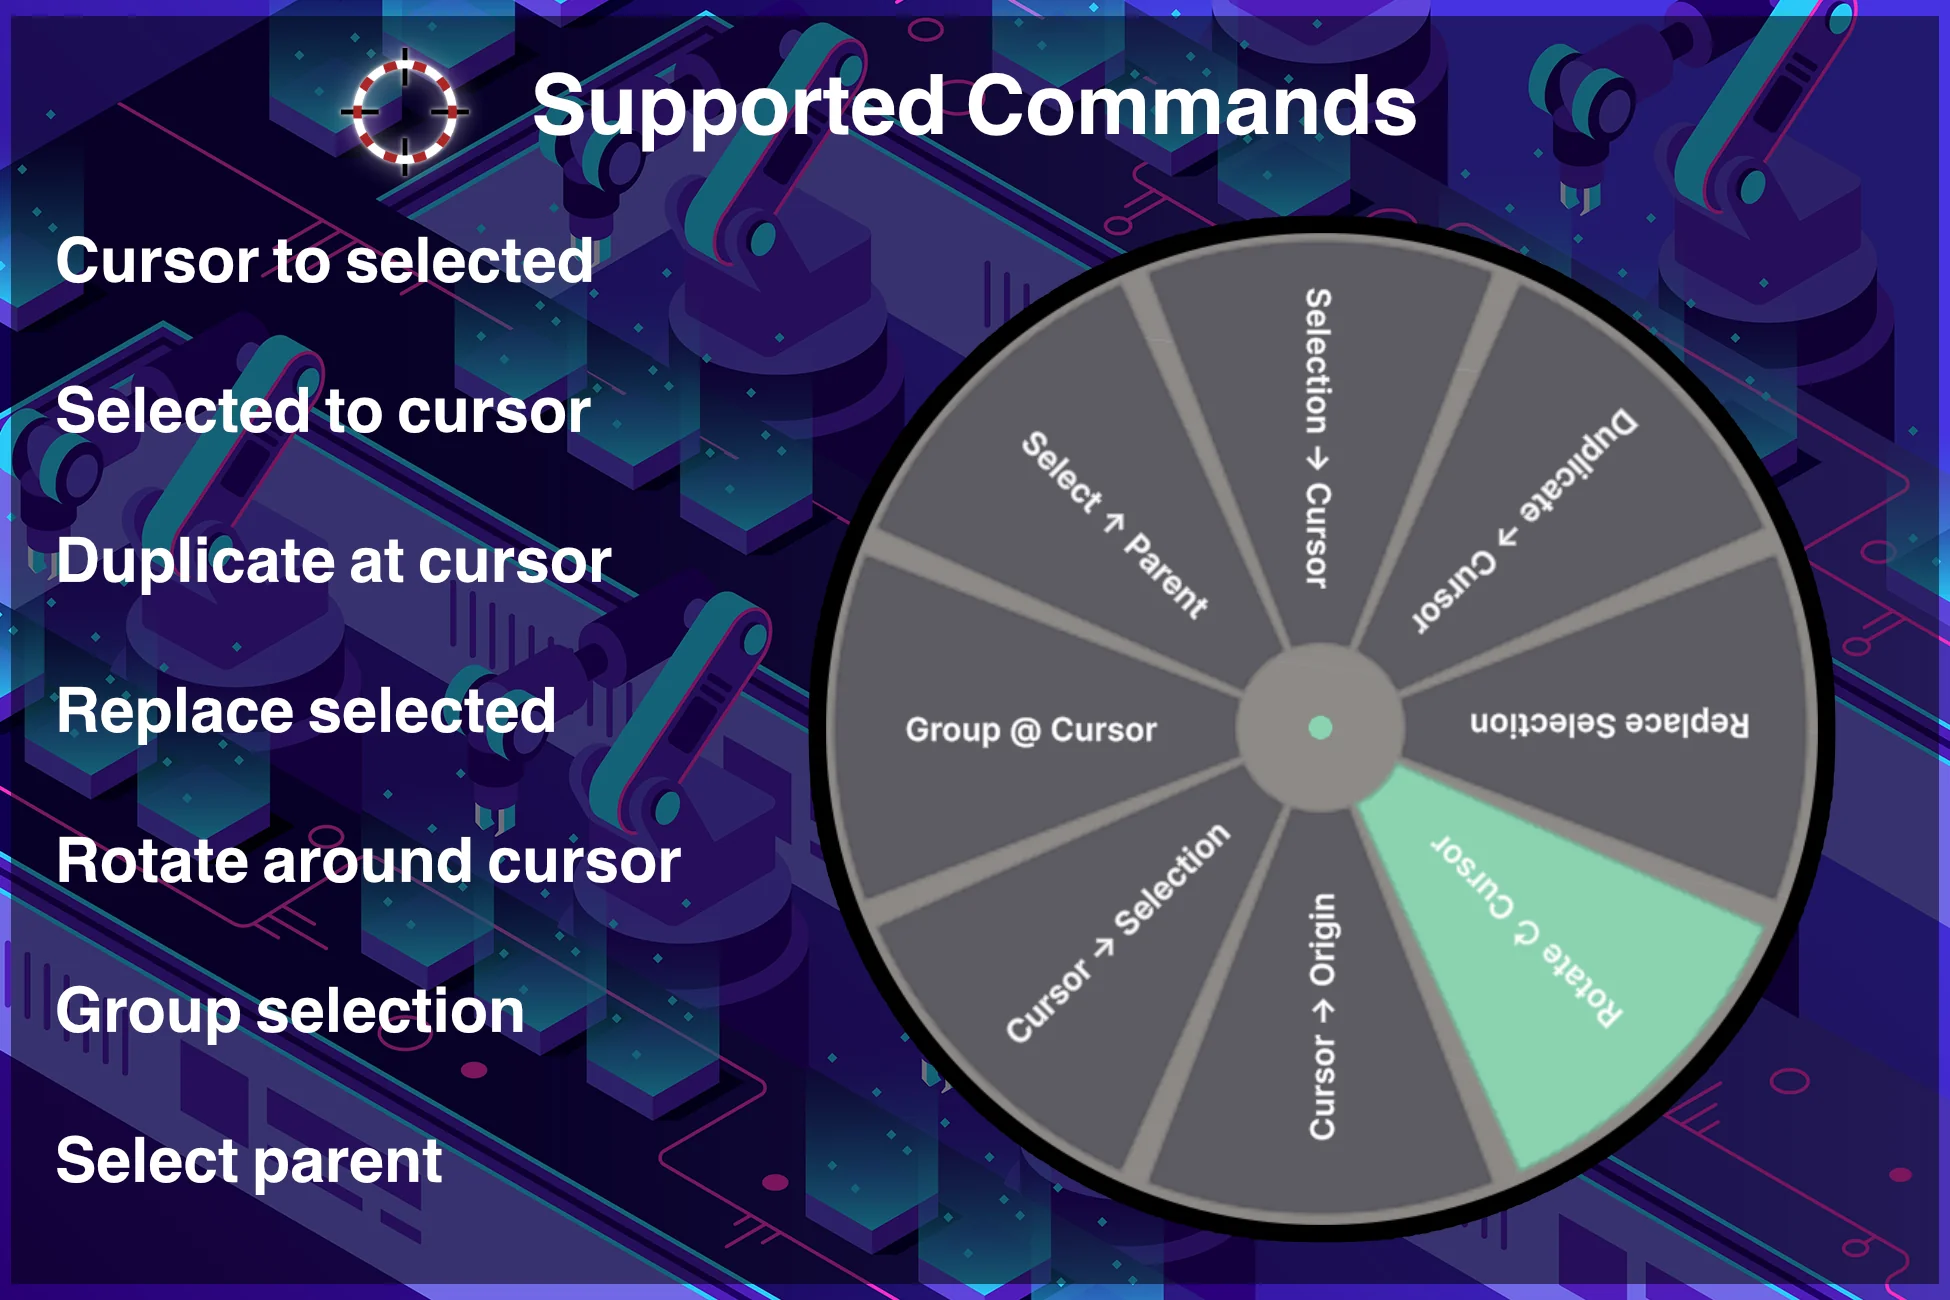
The radial menu is the main way you drive the tool, and it keeps your hand on the mouse.
To use it: hover the Scene view and hold C. The menu opens at your pointer. Move in the
direction of the slice you want, then release the key to run it. Releasing on the centre, or pressing
Escape, cancels without doing anything.
You don't need to click into the Scene view first — the shortcut works even when another window (such as the Hierarchy) has keyboard focus, as long as the pointer is over a Scene view.
Live preview
For the operations that change your objects (Move, Duplicate, Rotate), you see a ghost preview of the result before you commit. If you're duplicating ten objects along an offset, you see all ten ghosts before you release. This makes it easy to get placement right on the first try.
The adjust panel
After you run an operation that has settings, a small panel appears in the bottom-left of the Scene
view. This is where you fine-tune what just happened. Change a value and the operation re-applies
straight away so you can see the result. When you're happy, click anywhere in the scene, or press
Escape or Enter, to commit it.
The whole adjustment commits as a single step, so one undo reverses the entire operation, not each tweak.
Tip: you can drag on a field label to scrub its value up and down, the same as any Unity number field.
Some transient values — such as the placement offset — reset to their defaults once you commit, so they don't silently carry into your next operation.
Choosing which slices appear
Every command can be turned on or off in Preferences ▸ 3D Cursor, so you can keep the wheel as lean as you like. See Preferences for details.